Annotating a PDF means marking it up without changing its text, the way you would with a highlighter and a pen on paper. This guide reviews a three-page survey report the way you might review a draft from a colleague, then marks the whole report as a draft with a watermark and page numbers.
Here are some real-world examples:
A manager highlights the figures in a quarterly report that need a second look.
A student marks up a reading assignment before class.
A homeowner circles the line items on a contractor's estimate to ask about.
An editor stamps a proof APPROVED and sends it back.
The report is an illustrative PDF made for these guides. Select any picture to see it at full size.
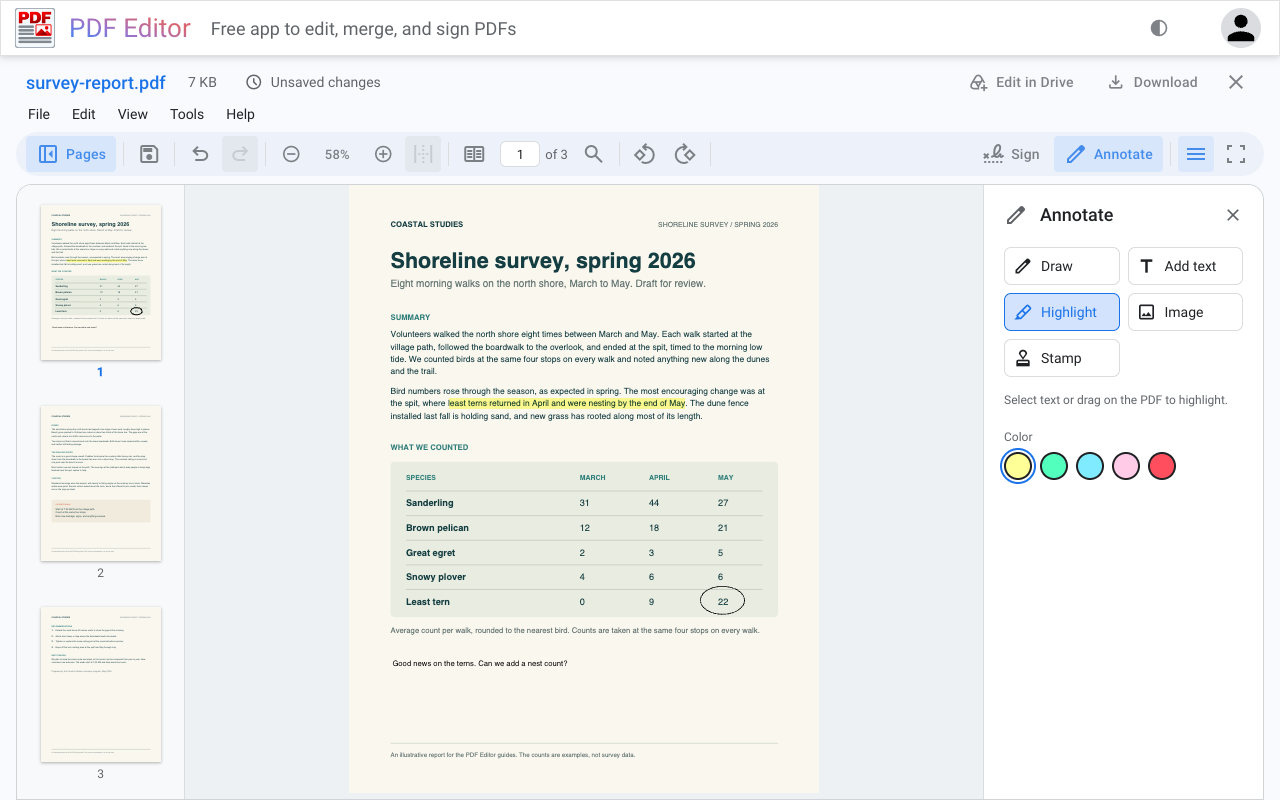
Select Annotate in the toolbar. The Annotate panel opens beside the page with five tools: Draw, Add text, Highlight, Image, and Stamp.
Select a tool. Its settings, such as color, text size, thickness, and opacity, appear in the panel below the tools.
The Annotate panel. Highlight is selected, with yellow as its color. Page 1 already carries the highlight, the note, and the circle from the steps below.
To stop using Draw, Add text, or Highlight, select it again or press Esc.
Highlight text
Select Highlight, then a color. Yellow is selected to start.
Drag across the words you want to mark. The highlight appears when you let go.
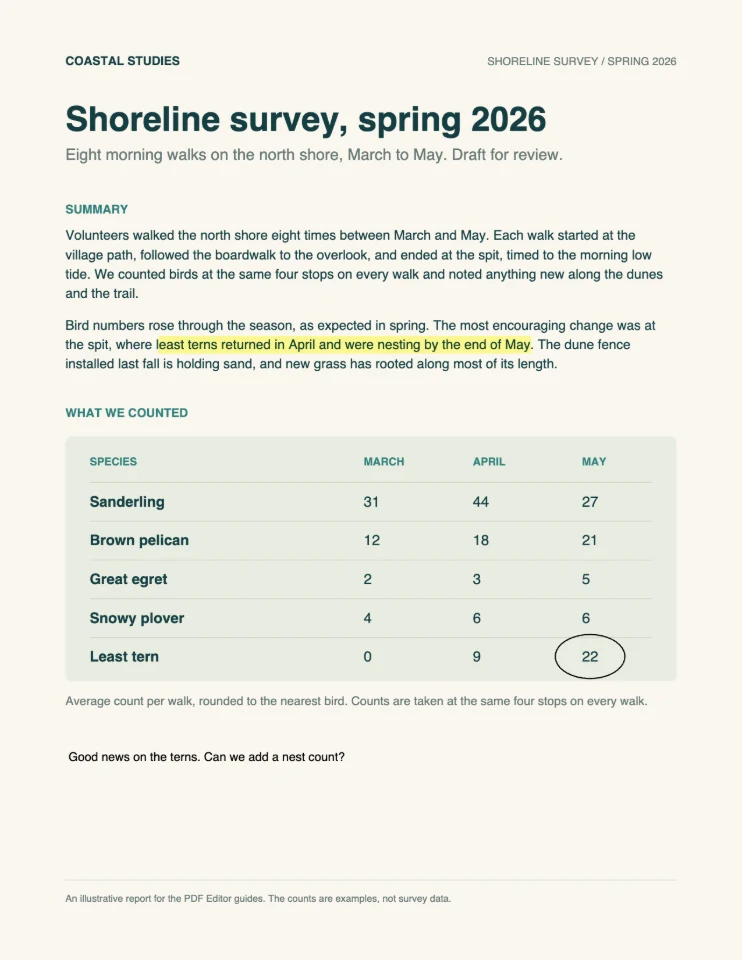
In the example, the highlight marks the news worth discussing. Least terns returned to the spit in April and were nesting by the end of May.
Highlight follows the lines of text, so a highlight that runs onto a second line covers just the words. On a scanned page, the words are part of a picture and can't be selected. Drag across them anyway, and Highlight paints a band wherever you drag.
Add a note
Select Add text.
Click the page where the note should go, and type.
Press Esc when you're done. Drag the note to move it.
The note in the example sits under the table's caption and reads "Good news on the terns. Can we add a nest count?"
Select a note to change its color or text size in the panel. Notes take Latin letters only. PDF Editor leaves out other characters and tells you when it does.
Draw on the page
Draw is a freehand pen for circling, underlining, and drawing arrows.
Select Draw, then a color and a thickness.
Draw with your mouse, a finger, or a stylus.
Select Draw again, or press Esc, to put the pen down.
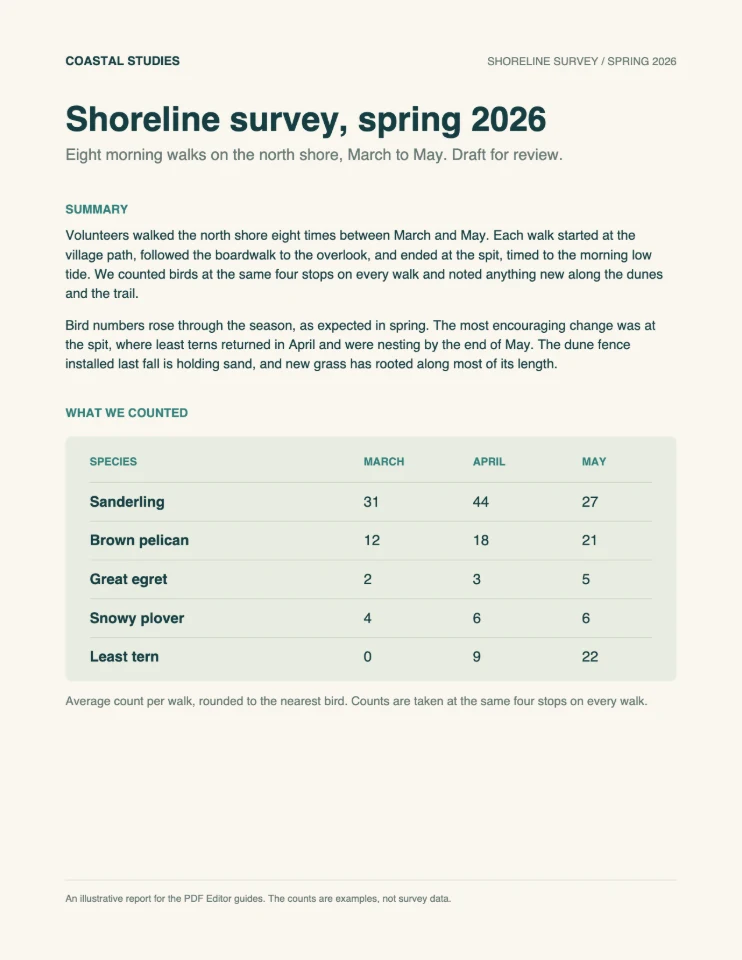
Before: As opened Page 1 of the survey report, with no marks.After: Highlight, note, and circle The least tern news is highlighted, a note sits under the table, and the May count of 22 is circled.
Draw is also a quick way to add a check mark or your initials. For a full signature, use Sign instead. The signing guide shows how.
Stamp a page
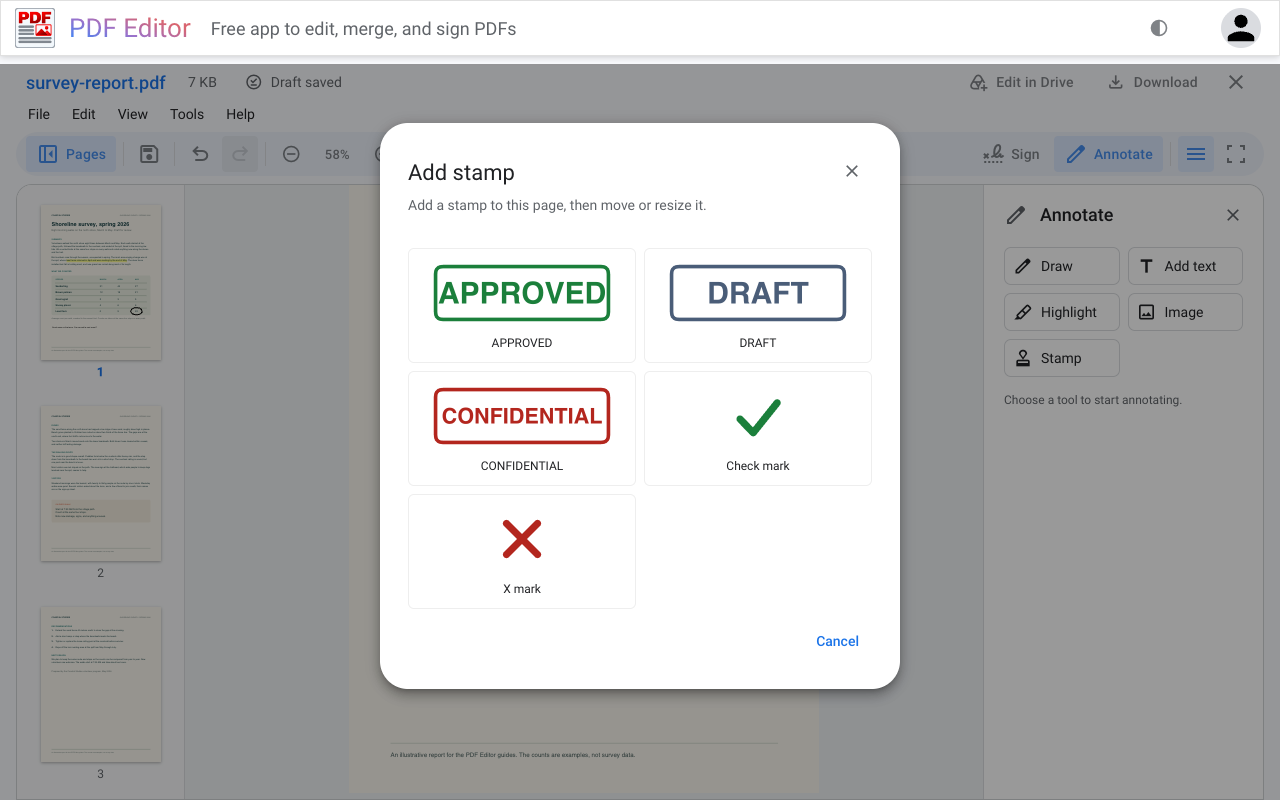
A stamp is a ready-made mark: APPROVED, DRAFT, CONFIDENTIAL, a check mark, or an X.
Select Stamp in the Annotate panel.
Select a stamp. It lands on the current page.
Drag it into place, and drag a corner to resize it.
Add stamp. Five stamps, each placed on the current page, ready to move or resize.
Mark every page with a watermark and page numbers
Annotations sit on top of one page. A watermark or page numbers go on many pages at once and become part of each page.
Add a watermark
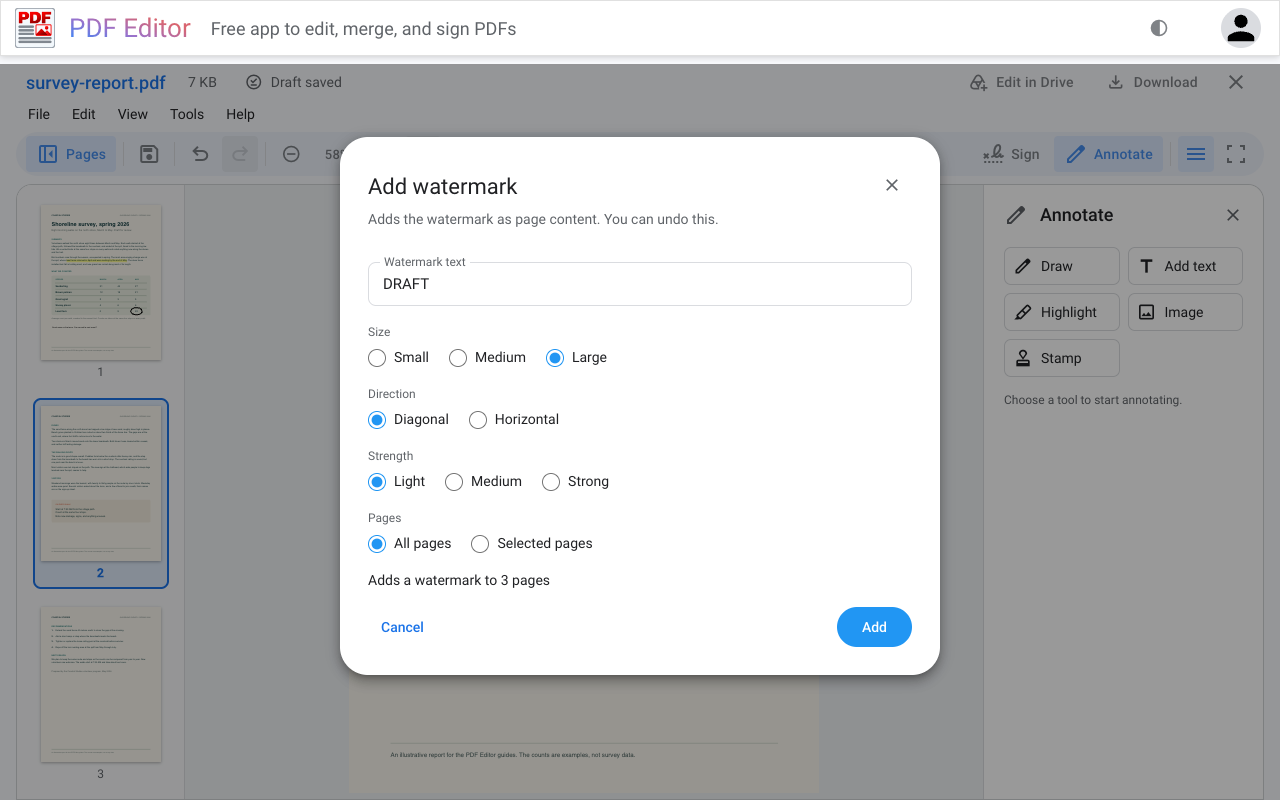
Choose Tools > Watermark....
Type the text. The example uses DRAFT.
Choose a Size, a Direction, and a Strength. The example uses Large, Diagonal, and Light, which keeps the text underneath easy to read.
Leave All pages selected or switch to Selected pages, then select Add.
Add watermark. The line under the options counts the pages before you add anything. Here it reads "Adds a watermark to 3 pages."
Add page numbers
Choose Tools > Page numbers....
Select a Format: 1, Page 1, 1 of 9, or Page 1 of 9. To start from a number other than 1, change First number.
Select one of the six positions, then Add.
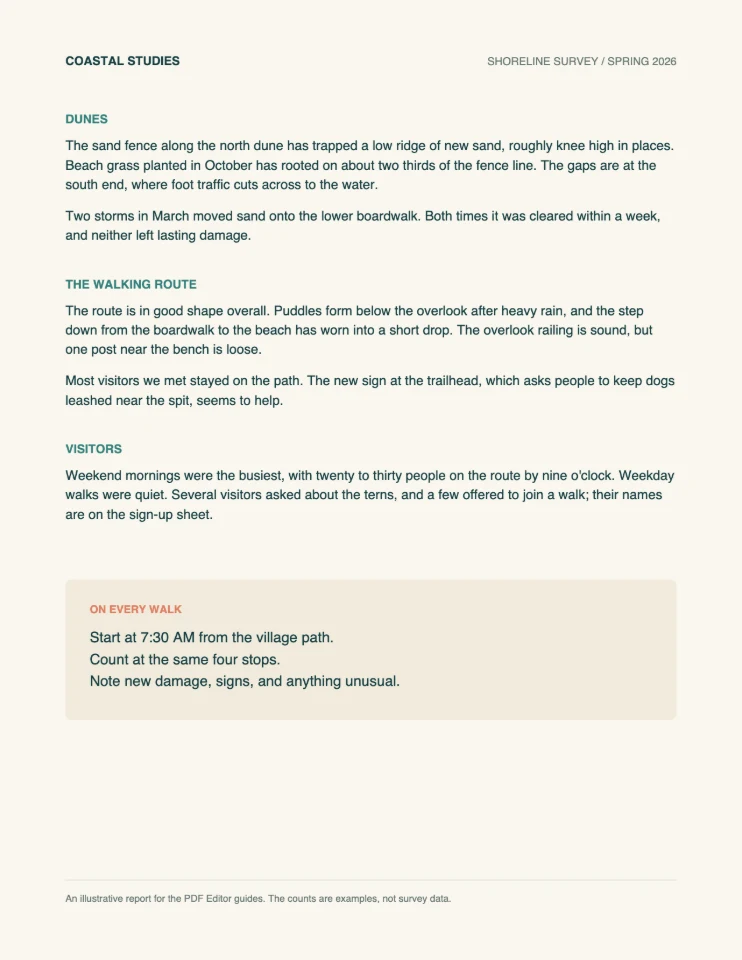
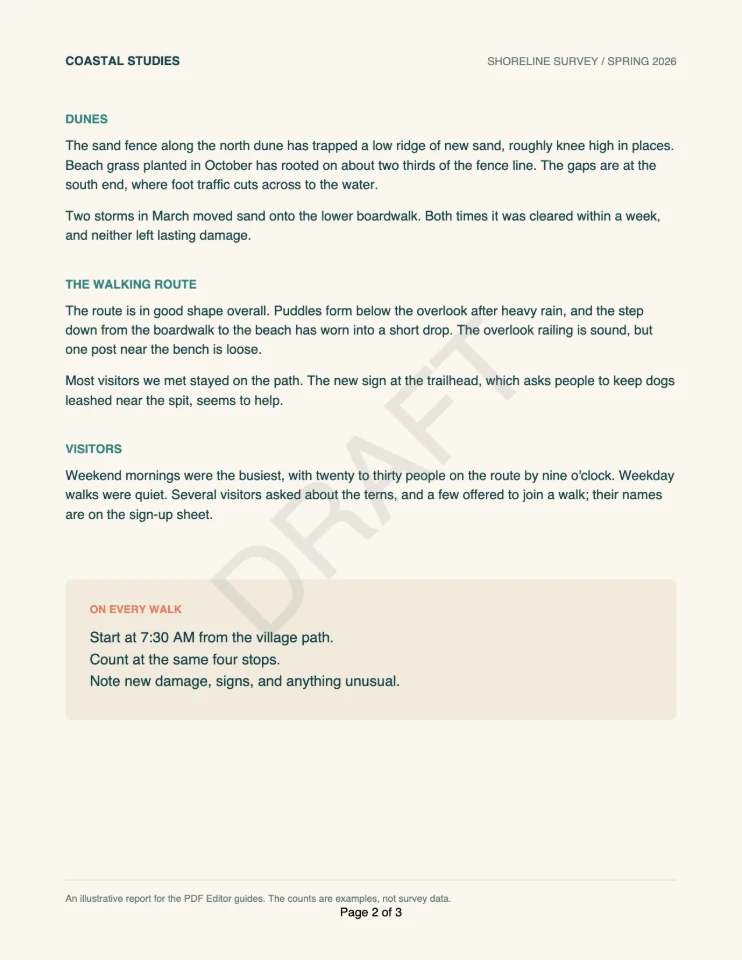
Before: As opened Page 2 of the report, with no watermark or page number.After: Watermark and page numbers A light diagonal DRAFT runs across the text, and Page 2 of 3 sits at the bottom center.
The same dialog adds headers, footers, and Bates numbers. Tools > Header and footer... puts text at the left, center, or right of the top and bottom of each page. For Bates numbers, choose Tools > Page numbers... and set Type to Bates numbers. Each page gets a prefix you choose and a number padded to a set count of digits, which law offices use to label every page of a set of records. These additions become part of the page, so use Undo if you change your mind while you are still editing.
Before you share a marked-up PDF
Highlights, notes, drawings, stamps, images, and signatures are saved as standard PDF annotations. Other PDF readers show them, and people with a PDF editor can move or delete them.
Tools > Whiteout area... covers part of a page with white. It is not redaction. The covered text is still in the PDF and can be searched or copied. Don't use whiteout to hide private information.
Crop page..., in Page actions, keeps the part of a page inside a rectangle you drag. PDF Editor hides the rest without deleting it, and Undo brings it back.
PDF Editor shows annotations from other apps but can't edit them.
Then save. Save writes your changes to the file you opened. For a PDF from your computer, that takes Chrome or Edge. Safari and Firefox download a copy instead. Save and export in PDF Editor Help covers every option.
The survey report is an illustrative PDF made for these guides. Its counts are examples only. Every screenshot was taken in PDF Editor. The page images were saved with File > Export > Pages as images... at Print (150 dpi) and reduced in size for this page.